

Sally Hansen recently came out with a gel line for the ladies that love longer lasting manicures. I've had the privilege of giving this Salon Gel Manicure Starter Kit a try! I've never used gel polishes before at home or at a salon, so I got pretty excited about using the LED lamp. x)

Here are all the items included in this kit:
· 1 LED Lamp · 1 Gel Base Coat · 1 Gel Nail Color · 1 Gel Top Coat · 10 Nail Cleanser Pads
· Acetone Remover · Cuticle Stick · File & Buffer · Instruction sheet
I made sure to take the time read through the instruction sheet, since this was my first encounter with gels. I definitely think it's important to read it, so don't toss it to the side! They give you a lot of tips that will help prolong your manicure. Also the LED lamp lights up when you plug it in, so place it on a flat surface before you do so.

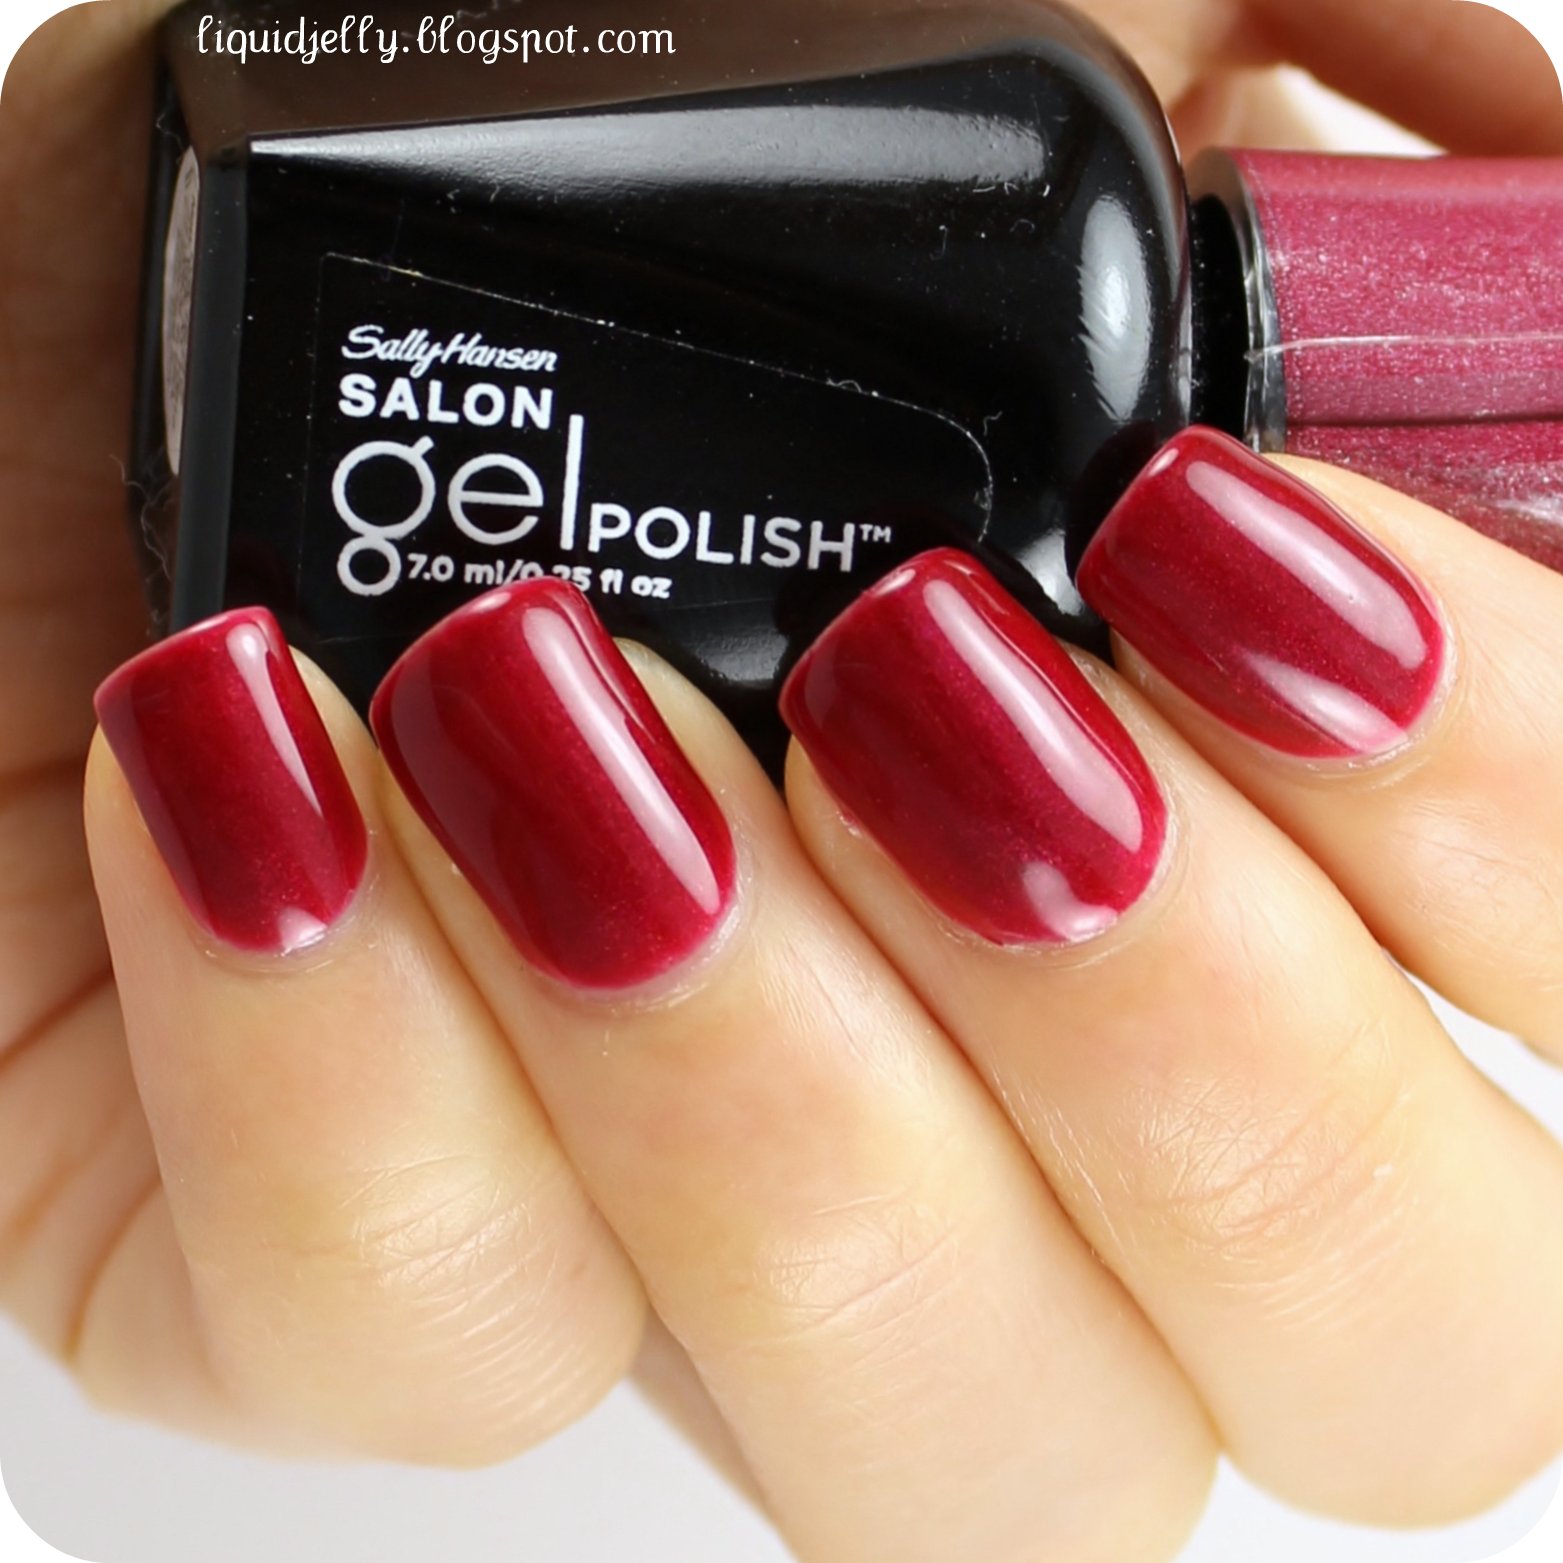
The gel polishes are neatly labeled in the order you should use them: base coat, color, top coat. The color I tried is called Wine Not, a deep shimmery red jelly. The shimmer is very fine and runs throughout the polish. Here's how it looks on my nails after having gone through all the steps! 2 coats of Wine Not with base coat and top coat.


A Few Thoughts on the Process
Is it dry? I followed the exact directions in the manual and found the whole kit fairly quick and easy to use. I cured my nails under the LED lamp for 30 secs as stated, but found that some a bit of red would rub off on the alcohol nail cleanser pad (which you use as the last step to remove the tackiness). Is that supposed to happen? I wasn't sure, but it made me feel a little uneasy about whether the polish was thoroughly dry. It was dry to the touch, however, so maybe the alcohol just does that? (PS. The alcohol is rubbing alcohol. If you run out, alcohol wipes should do the same thing.)
Thin coats! Not knowing the consistency of a gel polish, I accidentally applied a thick coat to my first nail. As a result, that nail chipped after a week. The other nails I painted in thin coats and they lasted two weeks on me with minor to no tip wear. The polish can spread fairly thin if you wipe most of the polish off the bottle neck. So I really recommend that you apply this as thin as you can. You will get better results even if you have to do another coat. *(Please note that the wear test was done on my toes, not my fingers.)
Following what I wrote above, wear time: Since I do my nails on a fairly regular basis, gel polishes aren't necessary or practical for my finger nails. However, I hate doing my toes. I like keeping them painted, but I tend to change them every 2-4 weeks depending on the season. So I really like these for my toes. I'm currently at 2+ weeks with no chips (minus the one where I applied the polish too thick).
Wrap your tips. As with any manicure, don't forget to wrap your tips for longer wear. I forgot to in my swatch. -_- Also, if you're not careful, the alcohol might rub some off the tip. Eek! Not good. So make sure your tips are wrapped and fully cured.
Removal is sort of like removing glitter. Basically, you soak your nails in acetone to loosen up the polish. I've seen Sally Hansen ads where they use the foil method, so I'm sure that would work the fastest. For my nails, I simply placed acetone soaked cotton on my nails and waited a bit before going in with the provided cuticle stick. The gel polish should easily lift off, otherwise soak your nails a little longer. Do not force the polish off, as it will damage your nails.
Verdict: I think it's an okay kit if you know how to use it right- if you're new to gels it will take some trial and error. The instructions are straightforward, but there's a lot of room for user error. I also think the LED lamp is a bit weak, because of how some of the color rubs off on the alcohol pads. If that's not supposed to happen, I think it could be a deal breaker - especially since this kit is an investment. Applying the polish in very thin coats will help with this though. I also can't comment on if these will last 2 weeks on finger nails. I got 2+ weeks on my toes, but I'm sure toes get less action. Overall, I think these are best for those who are up for some trial and error or those who are already familiar with gel polishes.
Availability: The Sally Hansen Gel Polish Starter Kit retails for $69.99 at chain drugstores, food stores and mass retailers. Walmart and Target has them for around $65.
Have you tried any of these at-home gels before? Did you like them? Let me know in the comments below!
Liz
Product(s) in this post were provided to me for my honest review.
Please view my disclosure policy for more info.
Very cool Liz! I love the idea of gel polish systems, but -like you- it's not practical for me since I like to change my polish so frequently. I love how shiny gels seems to stay and using it on your toes is such a fab idea!
ReplyDeleteThat looks really pretty, I love the colour and glossiness!
ReplyDeleteThanks, Maribeth! :)
ReplyDelete